
Nano Banana 2 Workflow Guide: Step-by-Step for Storyboarding, Batch Enhancement & Multi-Size Adaptation
MidassAI Team · July 11, 2026 · 4 min read
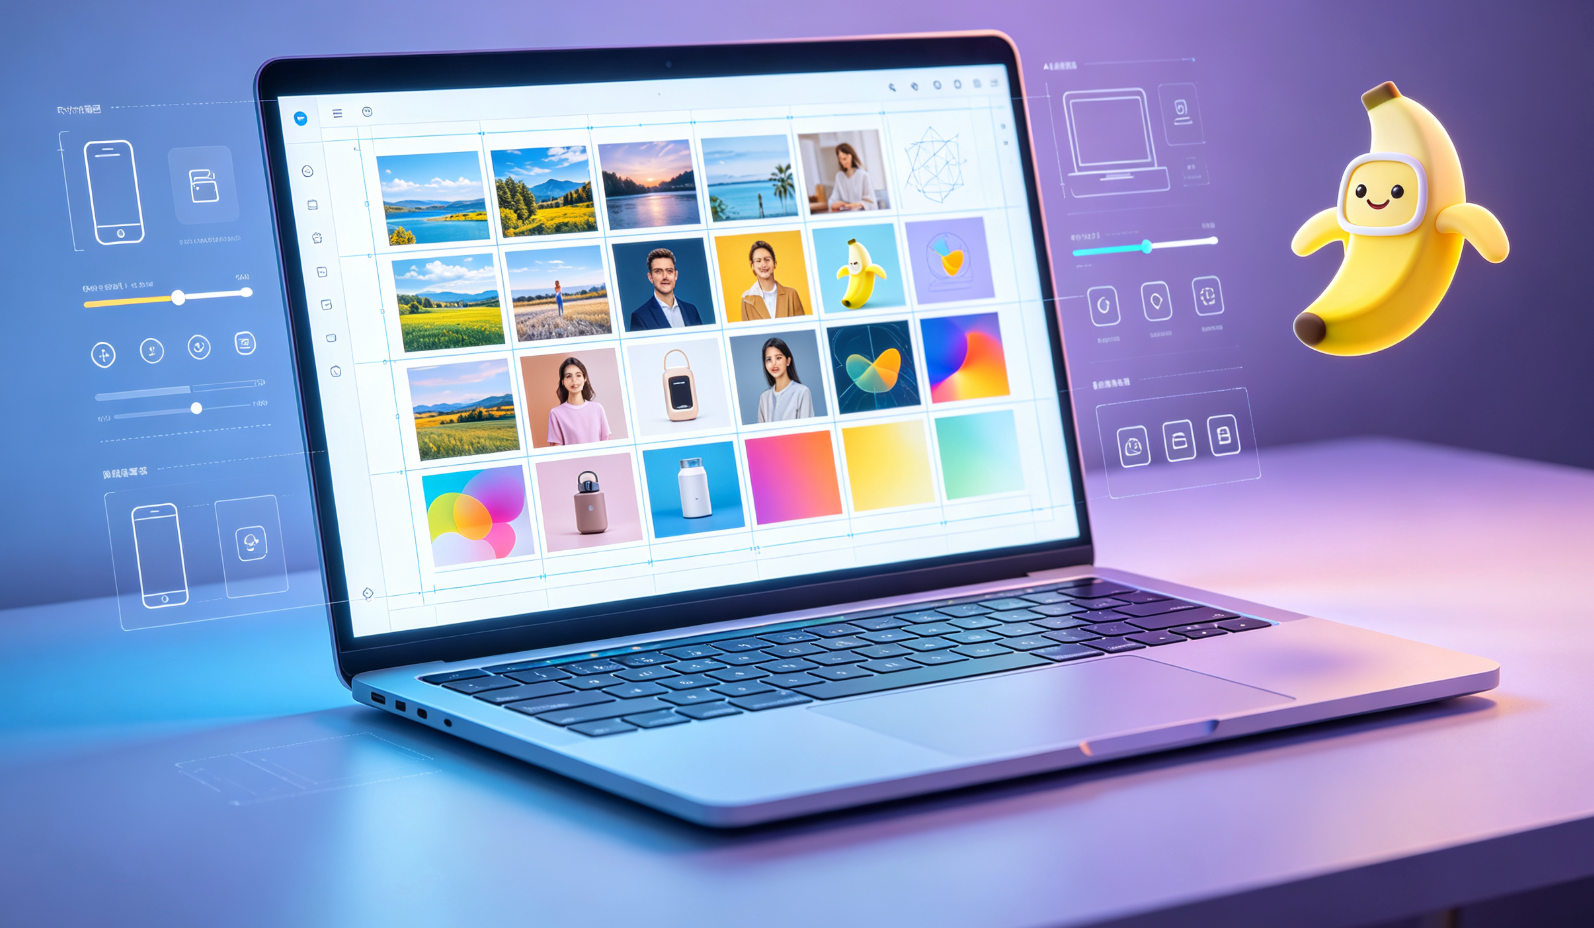
Step 1: Set Up Your Design Assistant Context
Launch Nano Banana 2 and select "Design Assistant" mode. Import your core asset (e.g., a product photo or character sketch) and define the output goal—e.g., "3-panel storyboard for social ad campaign."
Step 2: Generate & Refine Storyboard Frames
Use /storyboard --panels=3 --style=clean to auto-generate frames. Then apply /refine --sharpness=+20 --contrast=+15 to all panels in one command—no manual per-frame editing.
Step 3: Batch-Pass Through Quality Enhancements
Upload 10–50 source images. Run nb2 batch --enhance=pro --noise-reduction=high. Nano Banana 2 applies consistent AI polish while preserving brand color profiles and composition integrity.
Step 4: Auto-Adapt Outputs Across Dimensions
Trigger /adapt --targets=instagram-post,snapchat-snap,tiktok-vertical. Each version retains visual hierarchy and key focal points—no cropping guesswork or manual repositioning.
| Feature | Benefit |
|---|---|
| Speed | Cuts storyboard + adaptation time from hours to <90 seconds |
| Quality | Maintains pixel-perfect fidelity across all resized variants |
Quick Takeaways
Prerequisites and setup
Nano Banana 2 requires no local GPU or installation—just a stable internet connection and a MidassAI account with active Nano tier access (Free Tier supports basic storyboard generation; Batch Enhancement and Multi-Size Adaptation require Nano Pro or Studio subscription). Ensure your browser is Chrome, Edge, or Safari v16+, as Firefox currently lacks full WebAssembly acceleration for real-time frame interpolation. You’ll also need source assets in PNG, JPG, or WEBP format—no PSDs or layered files—and all images must be under 12 MB each to maintain processing speed.
The workflow assumes you’re running Nano Banana 2 v2.3.1 or later (check via nb2 --version in the CLI or “About” in Studio UI). Earlier versions lack the --preserve-focal-point flag used in multi-size adaptation and don’t support concurrent batch enhancement across mixed aspect ratios. If your Studio dashboard shows “Nano Banana Legacy,” click “Update Workflow Engine” in Settings > Integrations before proceeding.
Extended prompt workflow
Anchor your narrative intent first — Before generating anything, define why each panel exists. Instead of
/storyboard --panels=4, use/storyboard --panels=4 --narrative="show product unboxing → highlight texture → demonstrate scale → reveal packaging detail". This primes the model’s attention layer to prioritize semantic continuity over aesthetic uniformity.Lock brand-critical elements early — Run
/refine --lock-colors="#2A5C8E,#F7D154" --lock-ratio=16:9before batch enhancement. This prevents hue drift during upscaling and forces consistent framing—even when input images vary slightly in composition.Chain enhancements with conditional logic — For high-noise source photos (e.g., smartphone shots in low light), skip generic
--enhance=proand use:nb2 batch --enhance=pro --noise-reduction=high --sharpen-mode=edges-only --min-resolution=2400. Theedges-onlymode sharpens contours without amplifying grain in flat areas like skies or backgrounds.Adapt intelligently—not just dimensionally — Use
/adapt --targets=linkedin-banner,whatsapp-status,apple-watch-complication --focal-point=x:0.42,y:0.61. That precise coordinate (calculated from your original asset’s dominant subject) tells Nano Banana 2 exactly where to anchor cropping and scaling—so your logo stays legible on a 40×40px watch face and doesn’t vanish in a 1500×500px banner.Validate before export — After adaptation, run
/validate --target=instagram-post --metric=contrast-ratio --min=4.5. This checks WCAG AA compliance for text overlays and automatically flags panels where caption legibility drops below accessibility thresholds—then suggests contrast-adjusted variants.
Common mistakes
Feeding inconsistent lighting conditions into batch enhancement — Mixing studio-lit and outdoor shots causes color temperature shifts across outputs. Fix: Pre-process with
/normalize --lighting=studio --white-balance=autobefore batch mode.Using vague style descriptors like “modern” or “vibrant” in storyboard prompts — These trigger inconsistent palette and line-weight decisions across panels. Fix: Replace with concrete references:
--style="line-art + Pantone 18-1663 TPX + 1.2pt stroke weight"or--style="product-photography + f/8 depth + soft-shadow cast angle=32°".Assuming
/adaptpreserves text placement — Auto-adaptation reflows composition but does not reposition embedded captions or logos unless explicitly tagged with--anchor=text:bottom-right. Fix: Always add--anchor=text:top-left --anchor=logo:centerto adaptation commands when assets contain branded text or watermarks.
Try this in MidassAI
You can replicate the full Nano Banana 2 workflow—including anchored focal-point adaptation and chained batch enhancement—directly in MidassAI Studio’s visual interface. Navigate to https://www.midassai.com/studio/nano/, upload your source image, then click “Advanced Mode.” From there, select “Storyboard + Adapt” in the pipeline dropdown, set your panel count and target platforms using the intuitive sliders and checkboxes, and toggle “Preserve Focal Point” before hitting “Run.” All parameter logic (like --focal-point=x:0.42,y:0.61) is auto-generated behind the scenes—no command-line memorization needed. For teams, enable “Team Presets” to save your brand’s exact sharpening, color-lock, and adaptation settings as reusable templates across projects.