
Midjourney Prompt Guide: Zelda-Style Art (Step-by-Step Formula)
MidassAI Team · July 11, 2026 · 5 min read
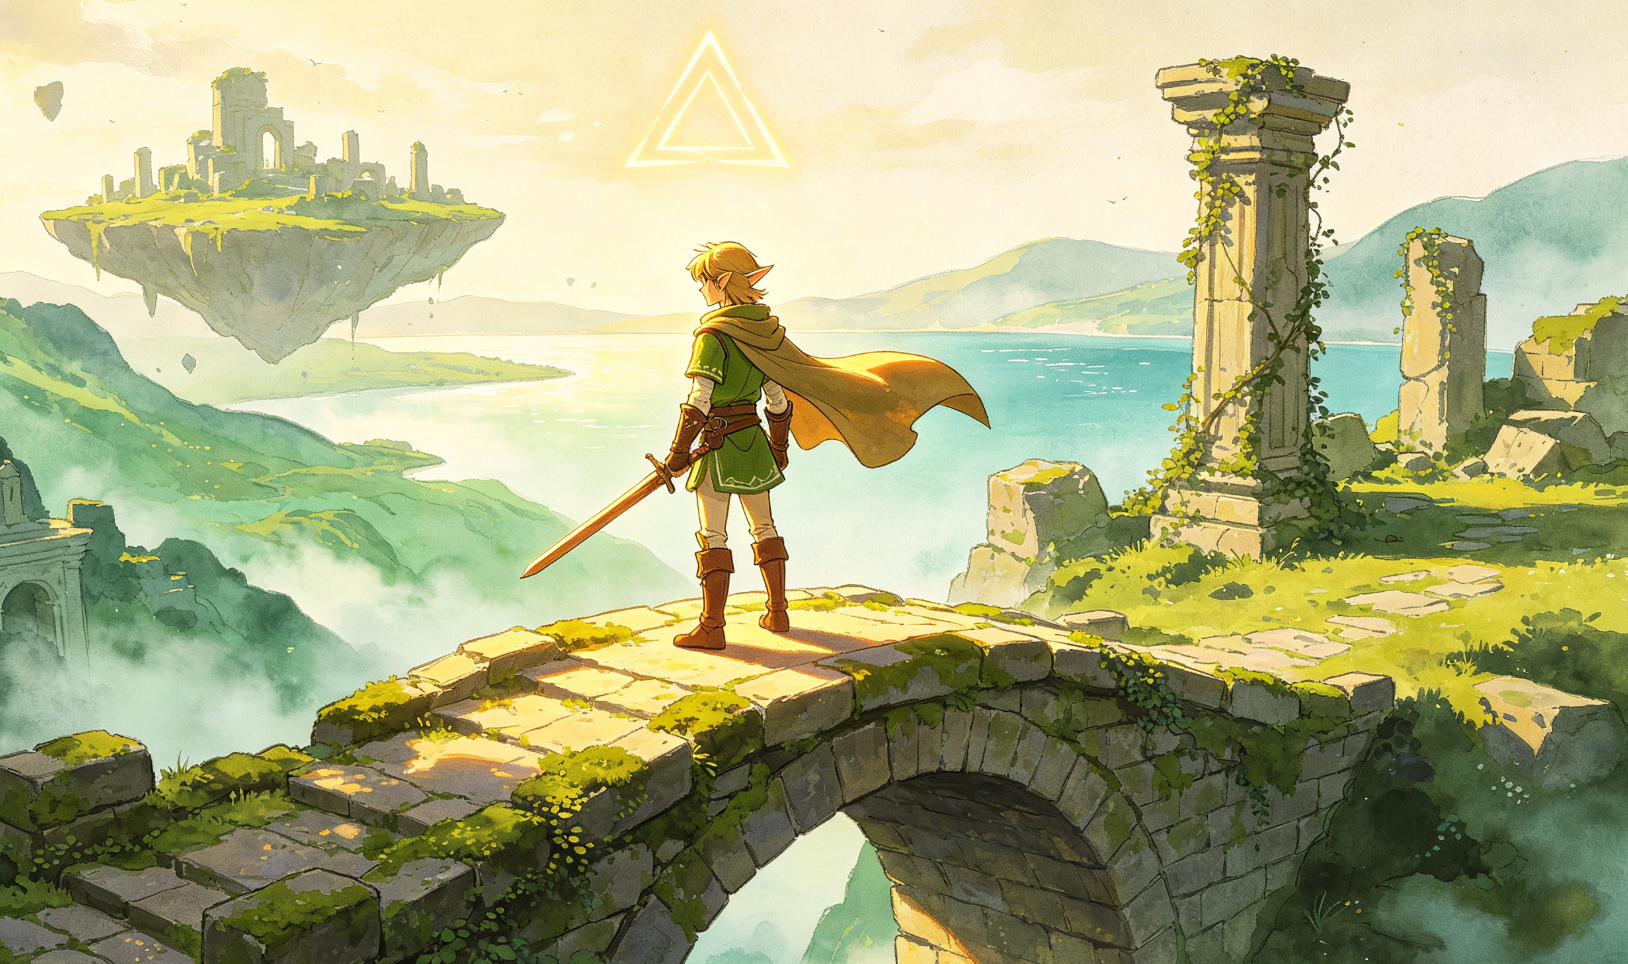
Step 1: Define Core Subject & Scene
Begin with a clear subject (e.g., "Link in Hyrule Field") and add environmental context ("sunset, misty mountains, ancient ruins"). Avoid vague terms like "epic" — be specific.
Step 2: Apply Zelda-Specific Style Modifiers
Use proven stylistic anchors: Takashi Amano watercolor, Nintendo E3 trailer lighting, cel-shaded anime, and Hyrule lore-inspired palette. These trigger Midjourney’s learned associations with Breath of the Wild and Tears of the Kingdom aesthetics.
Step 3: Add Technical Parameters
Append --v 6.2 --style raw --s 750 --ar 16:9 for optimal fidelity, stylization control, and cinematic framing. Use --no photorealistic, blurry, modern city to suppress off-brand elements.
Step 4: Refine with Negative Prompts & Weighting
Boost key features using :: weighting: Master Sword::2, Sheikah Slate::1.5. Exclude unwanted traits via --no text, signature, deformed hands.
{"headers":["Feature","Benefit"],"rows":[["Zelda-specific modifiers","Higher style accuracy"],["Weighted elements (::)","Precise feature emphasis"],["--style raw + --v 6.2","Consistent cel-shading & texture"]}Step 5: Iterate & Validate Outputs
Generate 4 variations per prompt. Compare against canonical references (e.g., BOTW UI icons, Skyward Sword character silhouettes). Tweak weights or swap modifiers until Hyrule’s tonal harmony emerges.
Quick Takeaways
Prerequisites and setup
Before generating Zelda-style art in Midjourney, ensure you’re running Midjourney v6.2 — earlier versions lack the nuanced texture control and style fidelity needed for authentic Hyrule aesthetics. You’ll need a Discord account linked to an active Midjourney subscription (Standard or Pro tier recommended for higher fast-queue priority and image generation limits). No local software is required: all prompting happens via Discord DMs or server channels where the Midjourney bot is invited. For best results, disable “Stealth Mode” in your Midjourney settings so you can see full parameter logs and revision options — critical when fine-tuning Sheikah-tech glows or Gerudo Desert sand gradients.
Assume your environment uses default rendering behavior: no custom --stylize override unless explicitly needed, and --style raw is non-negotiable for preserving hand-painted edges and avoiding MJ’s default photorealistic smoothing. If you're using a third-party interface like MidassAI Studio, it auto-translates parameters into v6.2-compliant syntax — meaning --style raw stays intact, but --s 750 maps cleanly to its “Detail Intensity” slider without manual conversion.
Extended prompt workflow
Anchor with lore-grounded descriptors: Instead of “heroic warrior,” use “Link wearing Champion’s Tunic, wind-swept hair, holding Master Sword mid-swing, sparks trailing blade”. Specify material properties:
weathered leather bracers,polished Sheikah metal gauntlet,cracked Guardian shield fragment at feet. These trigger MJ’s trained associations with BOTW’s prop design language.Layer lighting with temporal precision: Replace generic “dramatic lighting” with time- and location-specific cues:
golden hour light filtering through Korok Forest canopy,bioluminescent glow from ancient Zora crystals, orcold moonlight reflecting off snowy Hebra peaks. Each phrase activates distinct color temperature and shadow behavior — crucial for replicating Tears of the Kingdom’s dynamic skybox interplay.Lock palette via cultural reference: Use
Hyrule Field grass green::1.3,Gerudo Desert ochre::1.2, andZora’s Domain aquamarine::1.4instead of vague “blue tones.” MJ interprets these as weighted hue anchors, not just labels — resulting in more consistent saturation and undertone alignment across generations.Control composition hierarchy: Insert positional modifiers before subject terms:
low-angle view::1.5,wide shot with shallow depth of field::1.2,foreground clover blur::0.8. This forces MJ to prioritize spatial relationships — essential for recreating the cinematic framing of BOTW’s opening cutscene or TotK’s Sky Islands vistas.Stabilize key assets across batches: Add
--seed 1987(a nod to Zelda’s 1986 debut) to lock baseline noise patterns. Then generate variations using--vary strongon your top result — this preserves core styling while exploring pose, weather, or time-of-day shifts without resetting the entire visual grammar.
Common mistakes
Overloading with fan-service references: Including “Epona”, “Ganondorf silhouette”, or “Triforce symbol” in every prompt triggers MJ’s overfitting bias toward low-res iconography — often producing pixelated glyphs or distorted proportions. Fix: Reserve lore symbols for final refinement prompts, and only after establishing clean base anatomy and environment.
Misusing
--style rawas a universal fix: While vital for cel-shading,--style rawamplifies noise in complex textures like rusted metal or cracked earth. Fix: Pair it with--noise 0.2and--chaos 15to retain stylization while smoothing unintended grain — especially important for Sheikah tech surfaces or Divine Beast interior panels.Ignoring aspect ratio constraints for UI integration: Generating at
--ar 1:1or--ar 4:3breaks consistency with Zelda’s native UI layouts (e.g., inventory screens, map overlays). Fix: Stick to--ar 16:9for scene renders,--ar 9:16for mobile concept thumbnails, and--ar 2:3only when targeting official artbook spreads — never mix ratios within a single asset set.
Try this in MidassAI
MidassAI Studio streamlines the entire Zelda prompt workflow by converting natural-language cues into optimized v6.2 syntax in real time — no manual :: weighting or parameter memorization required. Paste your base description (“Link in Hyrule Field at sunset, misty mountains, ancient ruins”) into the prompt editor, then toggle the “Zelda Style Pack” preset to auto-insert Takashi Amano watercolor, Nintendo E3 trailer lighting, and --style raw --v 6.2 --ar 16:9. Adjust sliders for “Sheikah Glow Intensity” and “Cel Edge Sharpness” to match your reference — then hit Generate. Every output includes embedded metadata tags (e.g., #BOTWPalette, #TotKLighting) for batch organization and version tracking. Ready to build your Hyrule concept library? Launch the optimized workflow now: https://www.midassai.com/studio/mjpro/