
Midjourney Alpha: Folder Defaults and Style Previews
MidassAI Team · October 8, 2026 · 6 min read
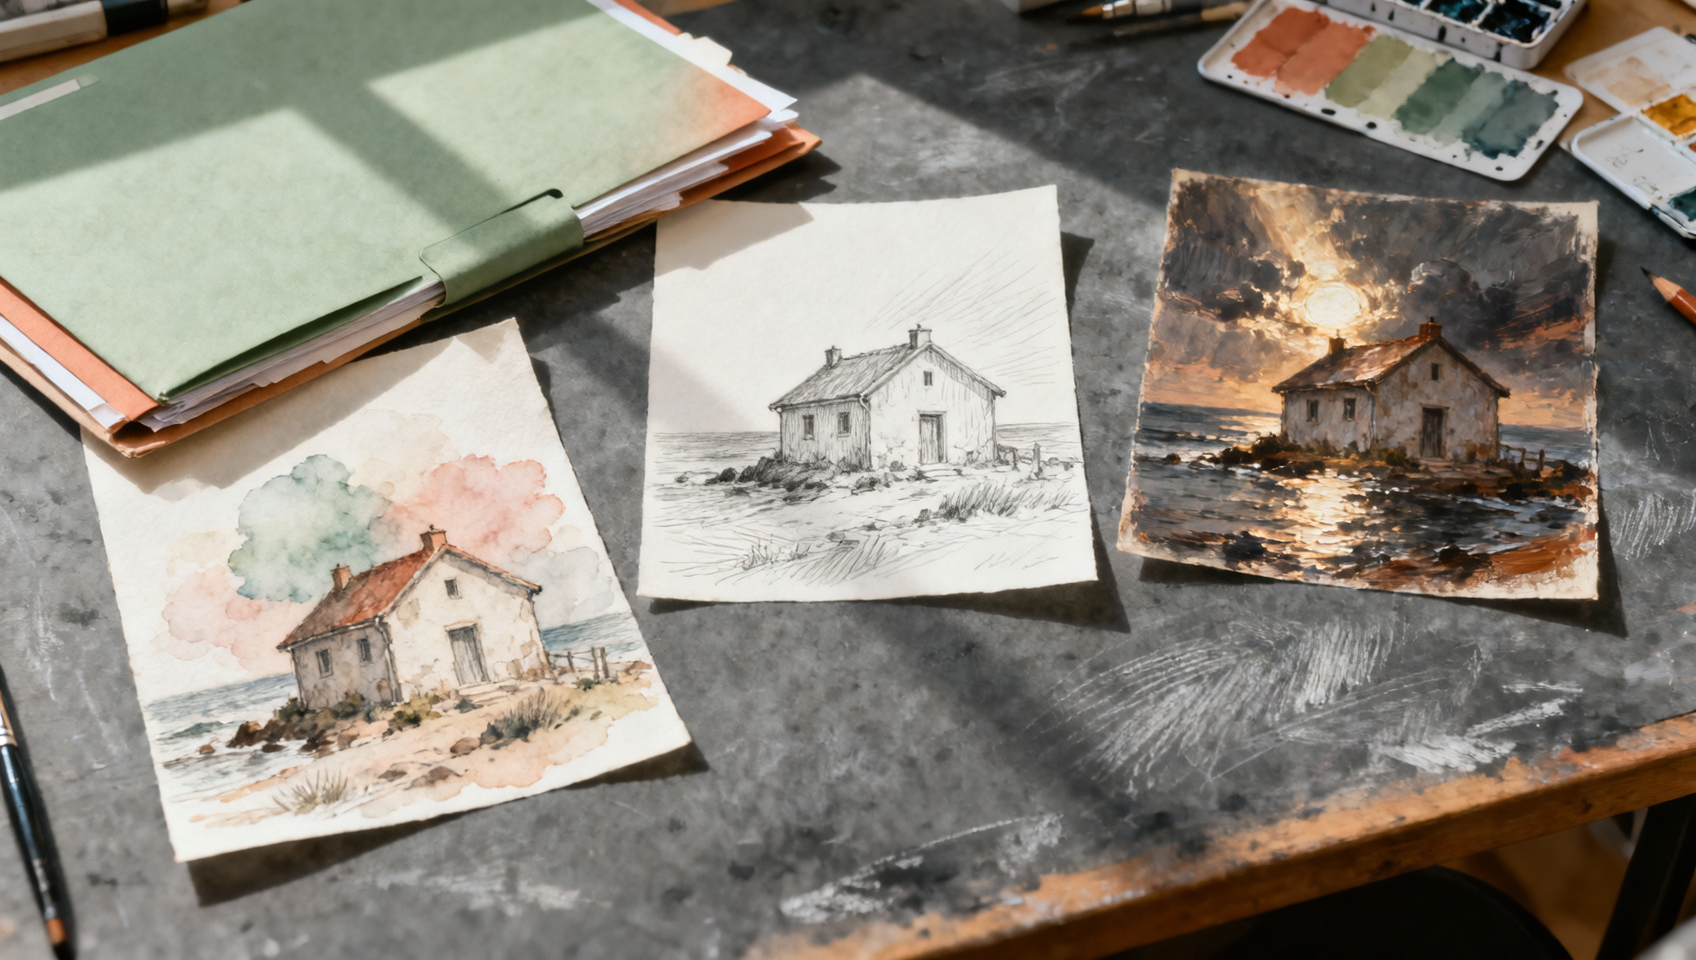
Folder defaults are useful until you forget which settings a folder is carrying. Style previews are useful until a convincing sample gets mistaken for a prediction of your own image. A good Midjourney Alpha session makes both tools visible in the working process: record the starting settings, compare one decision at a time, and check the resulting frame before editing.
Midjourney's Alpha changelog dated October 1 and published October 2 describes several changes relevant to that process. Sending a previewed style preserves prompt-bar settings; folder parameters are retained within a tab session; multiple style references appear in one pill; and edits keep the base image's aspect ratio rather than following a stray aspect-ratio parameter. We checked the official page on October 8, 2026. This tutorial develops a suggested working method around those changes; it is not a report of generated-image tests.
Define the image before opening a style preview
Choose one ordinary subject for the first comparison. An original example for this tutorial is a small coastal reading room, photographed from across a path on an overcast morning. The output is intended as a wide editorial image with a clear building silhouette. There are no people, signs, or required lettering.
That brief deliberately removes several competing problems. If every version changes the number of people, the building, the weather, and the viewpoint, you cannot tell whether a preferred result comes from the style or from a better composition. A restrained subject lets you assess the treatment of the scene itself.
Write down three non-negotiable properties: the building remains the main subject, the path leads toward it, and the crop leaves enough breathing room for the destination. Add one flexible property, such as the treatment of the sky. This division helps you avoid rejecting a useful stylistic variation just because a minor detail changed.
If you are new to the basic prompt structure, work through the Midjourney image-generator guide first. Folder settings organize an existing brief; they do not replace one.
Establish a folder baseline
In the Alpha interface, choose the folder you will use for this experiment and inspect the prompt-bar settings before generating. Record the model selection and any parameters you intentionally retain. If a setting does not matter to the comparison, leave it at a known baseline instead of experimenting with it simultaneously.
The October changelog is specific about folder parameters being saved within a tab's session. Do not treat that statement as a promise that every preference follows you across tabs, browsers, or devices. At the beginning of a later session, inspect the settings again. A small note beside the brief is cheaper than trying to explain a changed result after several rounds.
Use an external session note rather than relying only on folder names. A folder called “soft coastal style” does not tell you which model or experimental parameter produced the selected take. Keep the subject prompt, chosen reference, and relevant settings together so that someone else can understand your decision.
Compare previews without surrendering the brief
Look at a small number of style candidates and describe what you see in plain visual terms: loose edges, subdued contrast, flattened perspective, or strong directional shadows. These observations are more useful than saying every candidate is “cinematic.” Pick the style that appears suitable for the job, then evaluate the generated image against your own subject.
A style preview is a selection aid. It is not evidence that a different subject will reproduce every visual property of the preview. Keep the baseline text stable for the first comparison, and review whether the style changes the scene in ways that matter to the destination.
Here is a proposed subject prompt, written as an example rather than a tested recipe:
A small coastal reading room beyond a curved gravel path, low timber building, overcast morning, quiet sea behind it, eye-level editorial composition, the building remains the clear focal point, no people or lettering.
Start with one reference direction. Mixing several references immediately can make a pleasing result harder to explain. Once you have a useful single-reference baseline, add another only if you can name the missing quality it should contribute. Our prompt examples guide offers other ways to keep the subject description concrete.
Check the prompt bar after every transfer
The official change says a previewed style now keeps the prompt-bar settings when sent. Treat that as a workflow improvement, then verify the settings relevant to your session. A quick check is especially useful after moving between folders or returning to an older image.
When several style references are present, the changelog says they are grouped into a single pill with thumbnails and that hovering exposes their codes. Use that display to identify accidental leftovers. Do not assume one visible pill means one reference. Record the references used for the selected result rather than trying to reconstruct them from memory later.
The same announcement also describes pinning the experimental parameter in a folder through advanced settings. Keep such a parameter out of your first comparison unless it serves a specific purpose. This is an experimental design recommendation: fewer simultaneous changes make your observations easier to interpret.
Edit the chosen frame, not an unrelated preset
Before editing, identify the base image and its intended shape. The October note says edits preserve the base image's aspect ratio even when a conflicting aspect-ratio parameter remains in the prompt. That makes it particularly important to distinguish a content edit from a deliberate reframing task.
Suppose the reading-room image has the right composition but a distracting object near the path. Describe that local problem and preserve the other decisions. If instead you need a taller placement, define a separate reframing step and review the resulting composition. Do not expect a leftover prompt parameter to act as a reliable substitute for choosing the right editing operation.
For a handoff, record the selected image, the reason for editing, and what must stay stable. Compare the result at the intended display size. Inspect building edges, transitions around the edited area, and the path's direction. These are proposed acceptance criteria, not claims about how accurately the model will satisfy them.
End with a small, reusable session record
Keep the original brief, the selected reference direction, the starting parameters, and the final choice. Add a sentence explaining why that image won. For example: “The softer treatment kept the building readable while allowing the sea to remain secondary.” This makes the record useful for the next project, even if the interface changes.
The announcement also lists collaborative tools and persistent edit history as upcoming work. Do not build a production dependency on a roadmap line; verify those features separately if your project needs them. The repeatable part you can design now is simpler: a visible baseline, a controlled style comparison, and a final check against the actual destination.